
In part one of the series, we tackled some basics on construction of crankbaits themselves, along with diving lips, shape, and the difference between baits that are trolled versus ones that are casted out and retrieved. For part two, we’re going to focus more on the trolling side of things, primarily because, there’s simply more to talk about. Casting baits usually have an advertised (on the box) depth range that you simply make a long cast and mid-speed retrieve to achieve. When it comes to trolling, depth is dependent on more variables, and there are multiple means of delivery.
Size
With most crankbaits, smaller lures have smaller sizes, and larger, longer baits are assigned higher numbers. That doesn’t always mean the larger lures dive deeper however, let me explain. For shad style baits, numbers are commonly 5’s, 7’s, and 9’s, with the larger sizes being larger and actually diving deeper. When it comes to stick-baits, it’s common to see 10’s, 12’s, and even 14’s, but you’ve got shallow versions of these and deep-diving versions too. In other words, the numbers don’t always correspond to depth of dive, which is crucial for understanding which baits work best and where.
Size of course, is also a concern when you’re trying to match the hatch as much as dive to a specific depth. Earlier in the season, it’s much more common to use number 5 shad style baits for young of the year minnows, while in the fall, it’s common to use great big baits to mimic species that have reached the peak of their growth. Sometimes, you’re forced to make a trade-off in size to achieve the dive depth you’re hoping to troll. For example, I’ll often use number 7 shad style baits to troll to the 12-15FOW depths I need even when I think they’re a bit too big for the situation at hand.
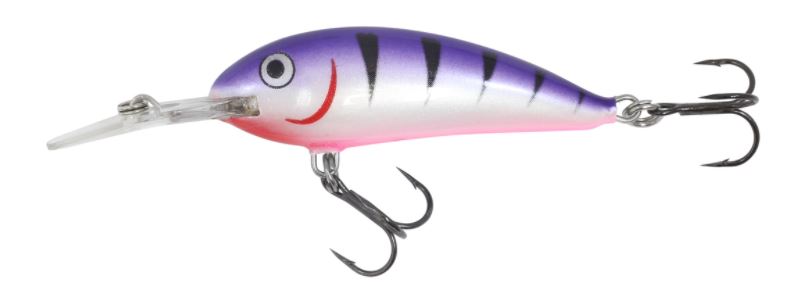
Northland Rumble Shad
Trolling Systems
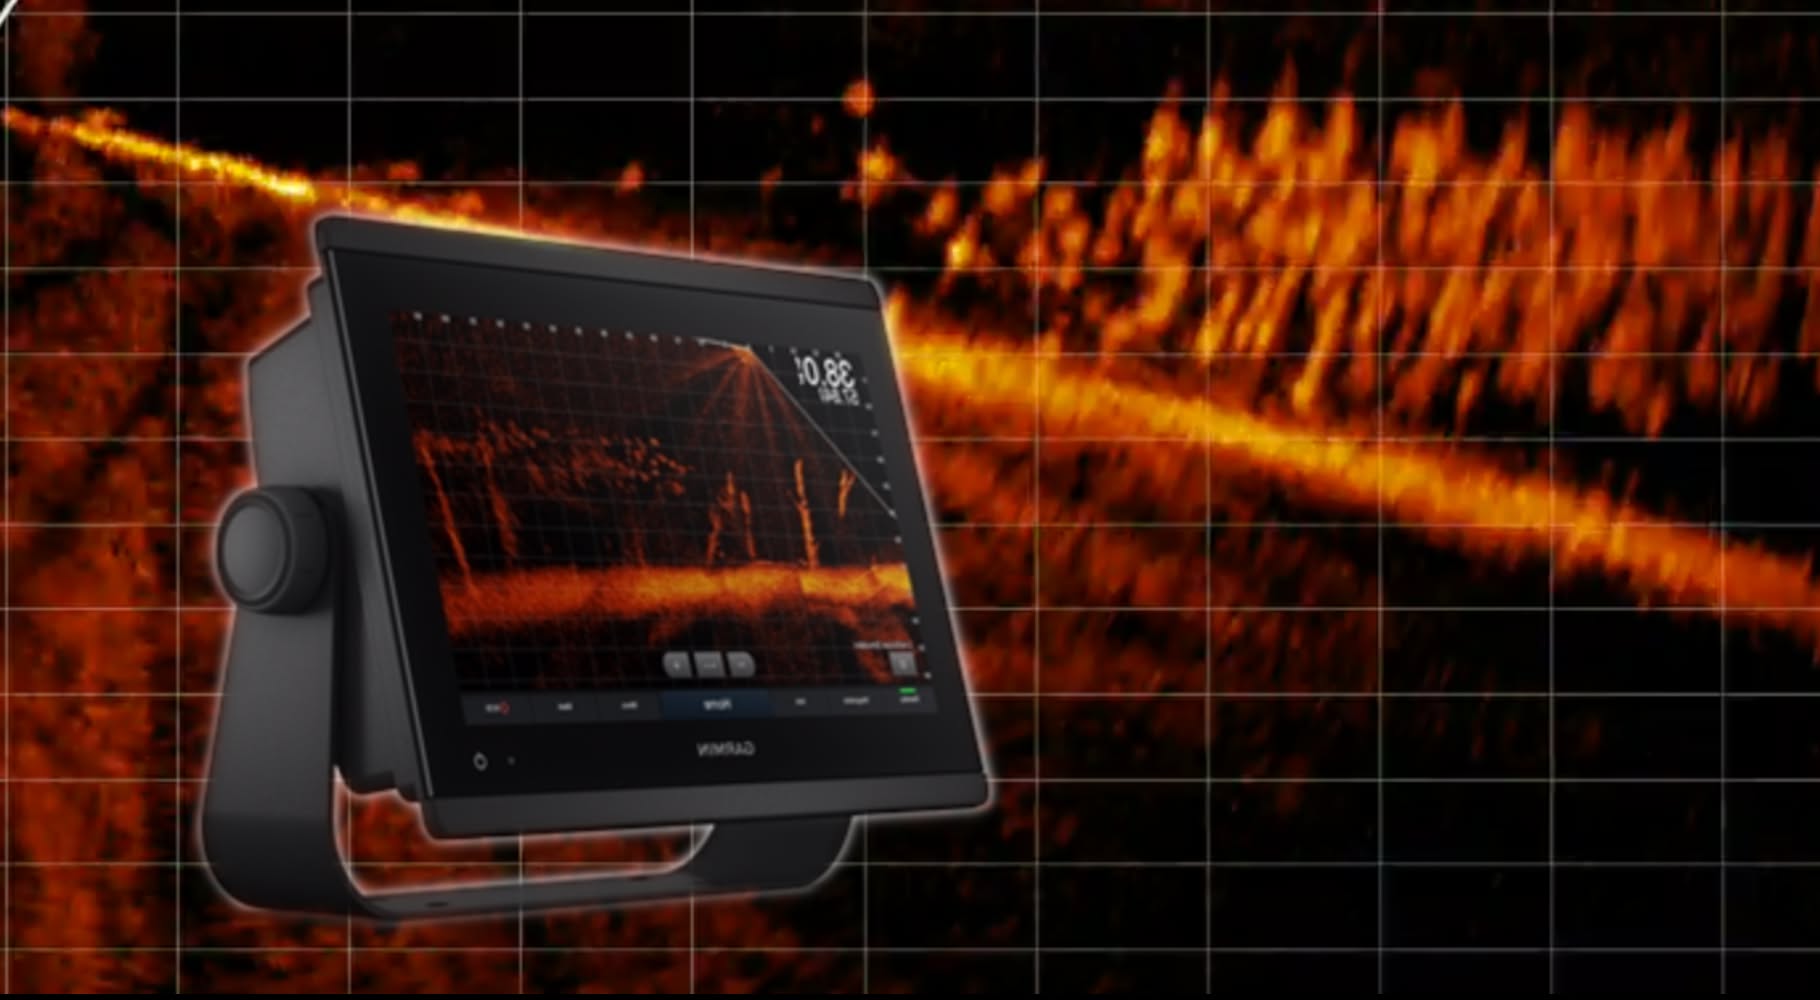
It’s common to troll baits on monofilament, fluorocarbon, or braided line just back behind the boat a certain distance to reach a desired depth. The technique is referred to as “long-lining” and really is only there to distinguish from another major delivery system in trolling leadcore line. Leadcore is a hollow braid with a long lead core that helps the line sink and thus brings baits far deeper than the advertised depth. With long-lining or lead core trolling, there’s usually a fluorocarbon leader between the bait and mainline a certain distance, which increases from average lengths of 3-6’, all the way up to 30’ or more in extremely clearwater scenarios. With lead core or long-line trolling, the use of “birds” or planer boards to spread more baits evenly away from the boat is common, thus allowing for more lines to be run from a single craft.
In both cases, it’s useful to get in the habit of having dedicated trolling rods with medium to medium heavy powers and moderate actions. These rods are an investment in catching more fish, as you’ll retain far more fish on the hook without pulling them out of mouths due to the slower, softer actions. While you’re at it, add a quality line-counter reel to those trolling rods such that you can replicate your runs. When it comes to trolling depth, it’s all about the amount of line you have behind the boat to achieve a successful depth. Once found, you need to be able to dial in the rest of your baits to that desired depth, and a line counter reel is paramount in making that happen. In fact, spool up with the same amount of line with the same reels for all of your setups. If you’re not sure how, many sporting goods stores will do this crucial step for you, making it much easier to replicate success once it’s been found.
Tuning
I’m often reminded of the importance of a well-tuned crankbait when there seems to be a certain bait that’s just on fire. No matter where you pull, that bait is getting eaten. What’s often the case is that simply this bait is tuned well, and your other baits could be just as popular if they were hitting the correct depths. Before dropping back any bait, run it on a 6 foot lead length right next to the boat at the same speed you’ll be trolling. It should dive straight down, not wander either direction, and not consistently pull left or right. If it does, you can carefully use a needle-nose pliers or other tuning device to move the metal “eye” in the bill where the split ring attaches, to the opposite side in which its pulling. You’ll need to experiment and continually check your tune, especially if a toothy critter or other large fish mauls your bait.
Color Selection
I was at a Scheels event with walleye tourney pro and guide legend Johnnie Candle a few years ago where we rapped on color a good bit. We’re both in agreement that while colors may certainly affect buying decisions, they don’t always affect a fish’s decision to bite. In fact, the reason it’s placed last in the article is because I truly feel the other variables discussed have more importance. Sure, there are places where fish see a good many baits, where custom colors, and the right colors on the right day can make a difference. I’ve certainly seen that. Yet, with most systems, it’s about the general hue and broader color spectrum, how it shows up in clear water vs. stained systems, and what kind of bait we’re looking to mimic. I like bright baits in turbid conditions, like reds, pinks, and purples, while sticking to more natural shades in clear-water scenarios. I switch in some chrome and chartreuse when bright and tend to stay in those lanes when it comes to color. That’s not to say I don’t appreciate how far color and painting has come in such a short amount of time. I do, I just think that people focus too much on color and not enough about many of the other factors that can often matter more.
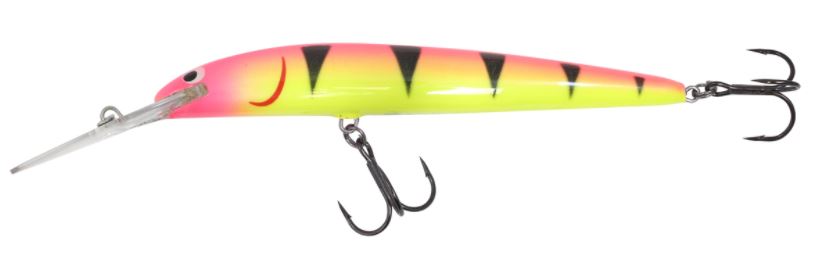
Northland Rumble Stick
Parting Shots
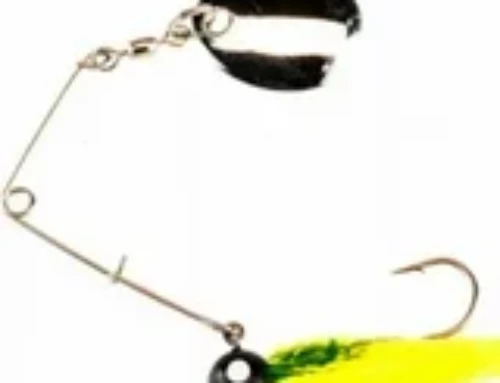
I feel it’s always useful to run a snap, specifically an oversized or crankbait snap. Not only is it handy when switching out baits constantly, the wider loop gives the bait that much more action and room to travel. It’s a minor detail that can make a major difference when fish really hone in on a certain vibration or wiggle.
I think organization is a key part of crankbait fishing too, from how you store your baits in the same color, size, and even manufacturer. That way, switching to what you want and assessing what needs to be replaced is that much easier. On that note, I never buy only one crankbait of a certain shape, style, size, or color at a time. I always buy them in at least pairs. Too often, you’ll find a winning combination, and wish above all other wishes that you had more. Pike, snags, and zebra mussels can end a perfect day if you don’t have at least one backup to the magic of the moment.
Study those styles and spend some time learning the differences. We didn’t cover suspending jerkbaits, lipless cranks, and a host of other “tweeners” but starting with the basics will get you further first until there’s room for understanding of the other varieties. Break them down by all these factors, and you’ll have an easier time decided what to use, and determining what to buy the next time you’re staring at that wall of balsa, plastic, and packaging.
By Joel Nelson

